For Week 5, Assignment 2: Myths and Legends-Printing the Story (2/24)

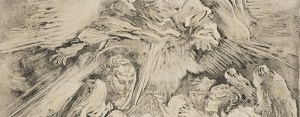
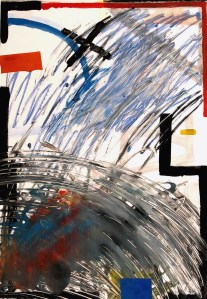
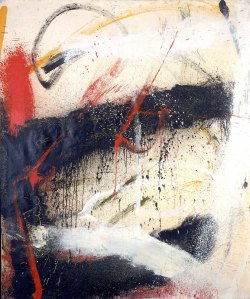
Etching and drypoint examples

Mythological Playing Cards. Dated: 1644. Medium: 12 etchings on one sheet. Museum: National Gallery of Art, Washington DC. Author: STEFANO DELLA BELLA.

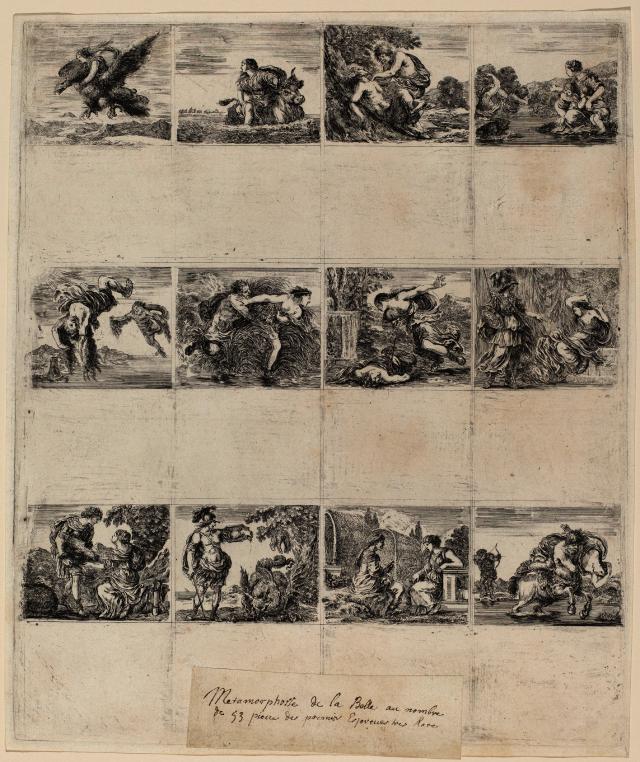
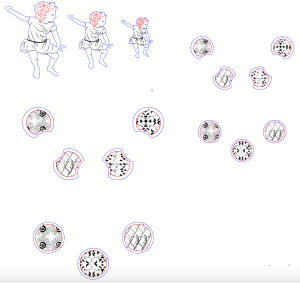
series of playing cards printing on one sheet, the 1600s


TO DO
 :
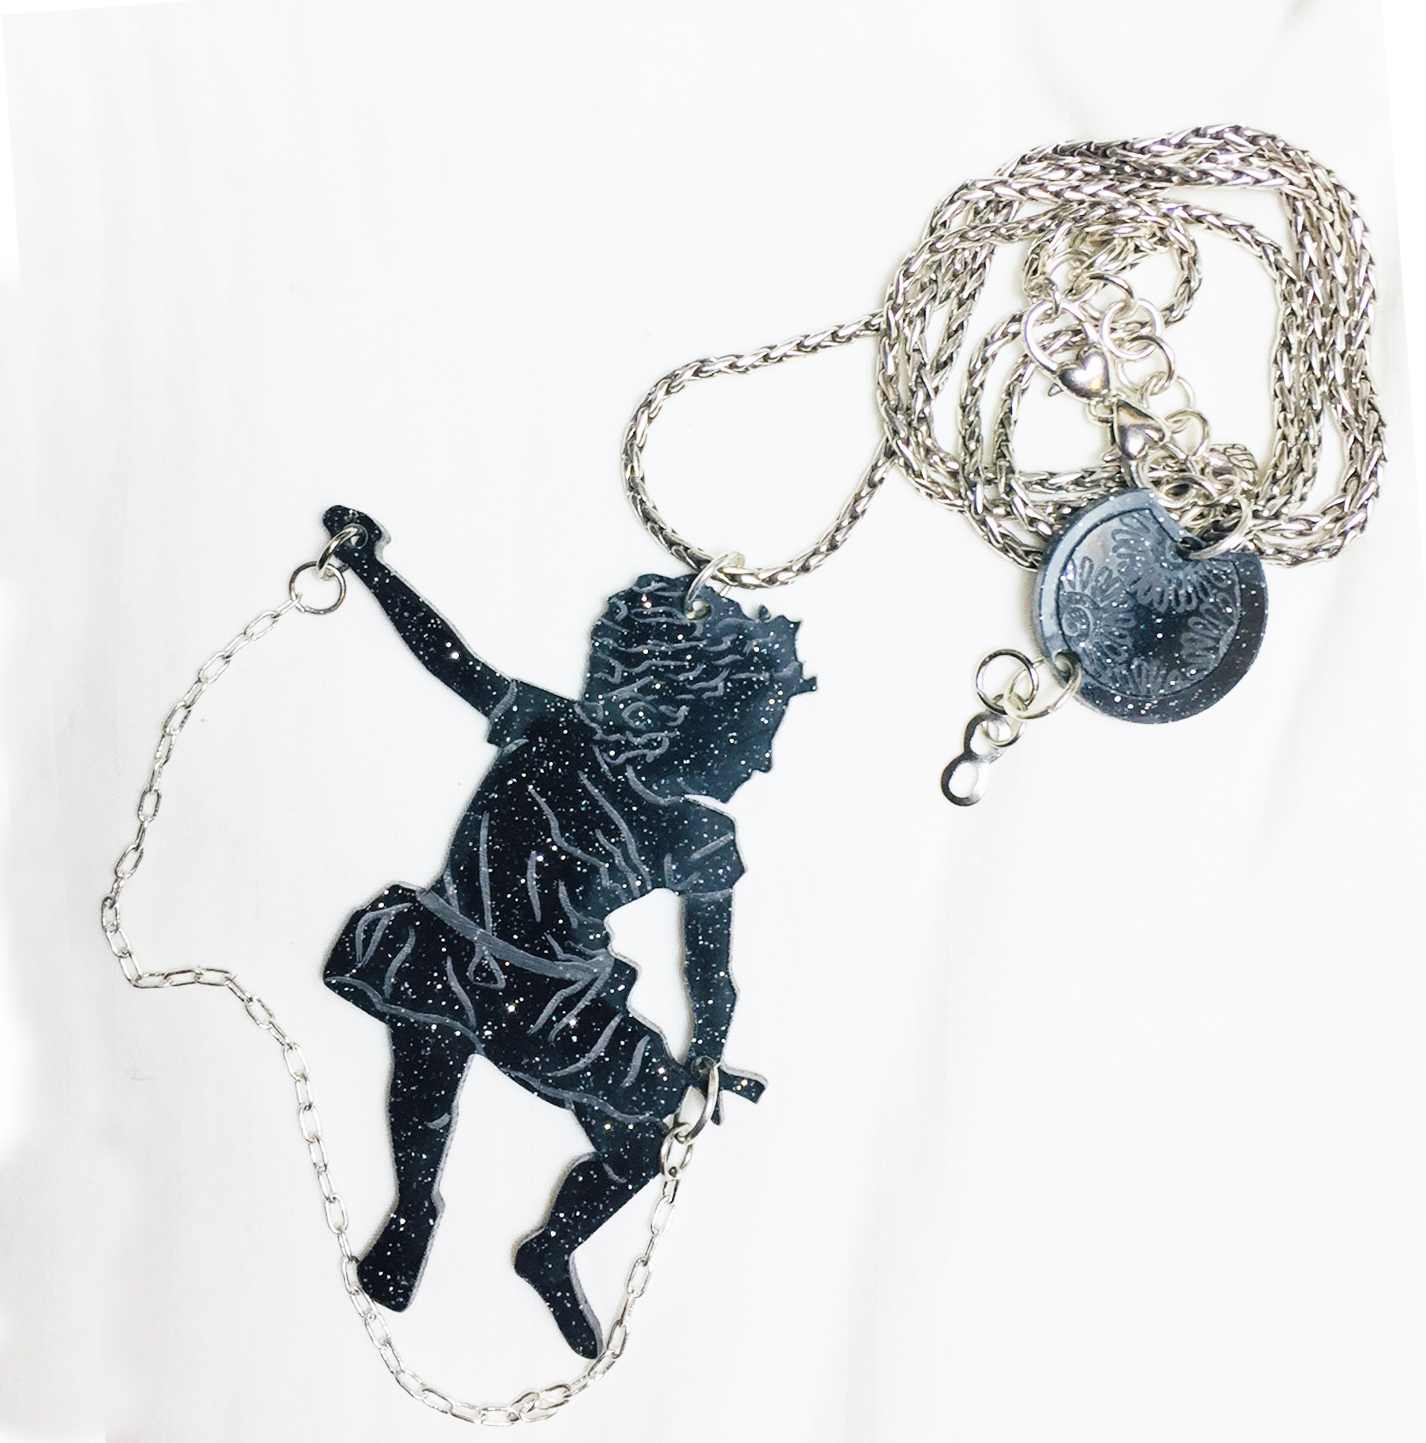
1. For those who would like to make corrections to their laser wear project, If you have access to the projects, please submit with changes by the next class. (Keep suggestions in mind from the crit)
based on in-progress work, timeliness, presentation, quality, and improvements (resubmission of in-progress work, Illustrator document, or final project with revisions.)
GRADING: The project should demonstrate all three laser techniques in the design and time and effort when assembling the parts. The Learning Portfolio plays a crucial role in the final grade, as indicated in the guidelines.

2. Complete your Learning Portfolio post for the Laser Wear Project. You have to provide the link to the post on Canvas by Wednesday, February 23, at 10:00 pm at the latest for my review. The day before our next class to give me time to make comments.
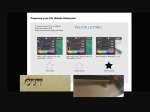
Please use the prompts at the bottom of the page here for what to write in your post. Include photos of your work in progress, Illustrator document, prototype, sketches, information about working with your client, the finished project, and answers to all of the prompts.
There are links to examples of posts (go to the bottom of the page) that are good models for the Laser Wear Learning
Portfolio reflection. 

3. COMPLETE A TWO PAGED SHORT READING on Nine of the Most Famous Greek Myths attached (here.) 

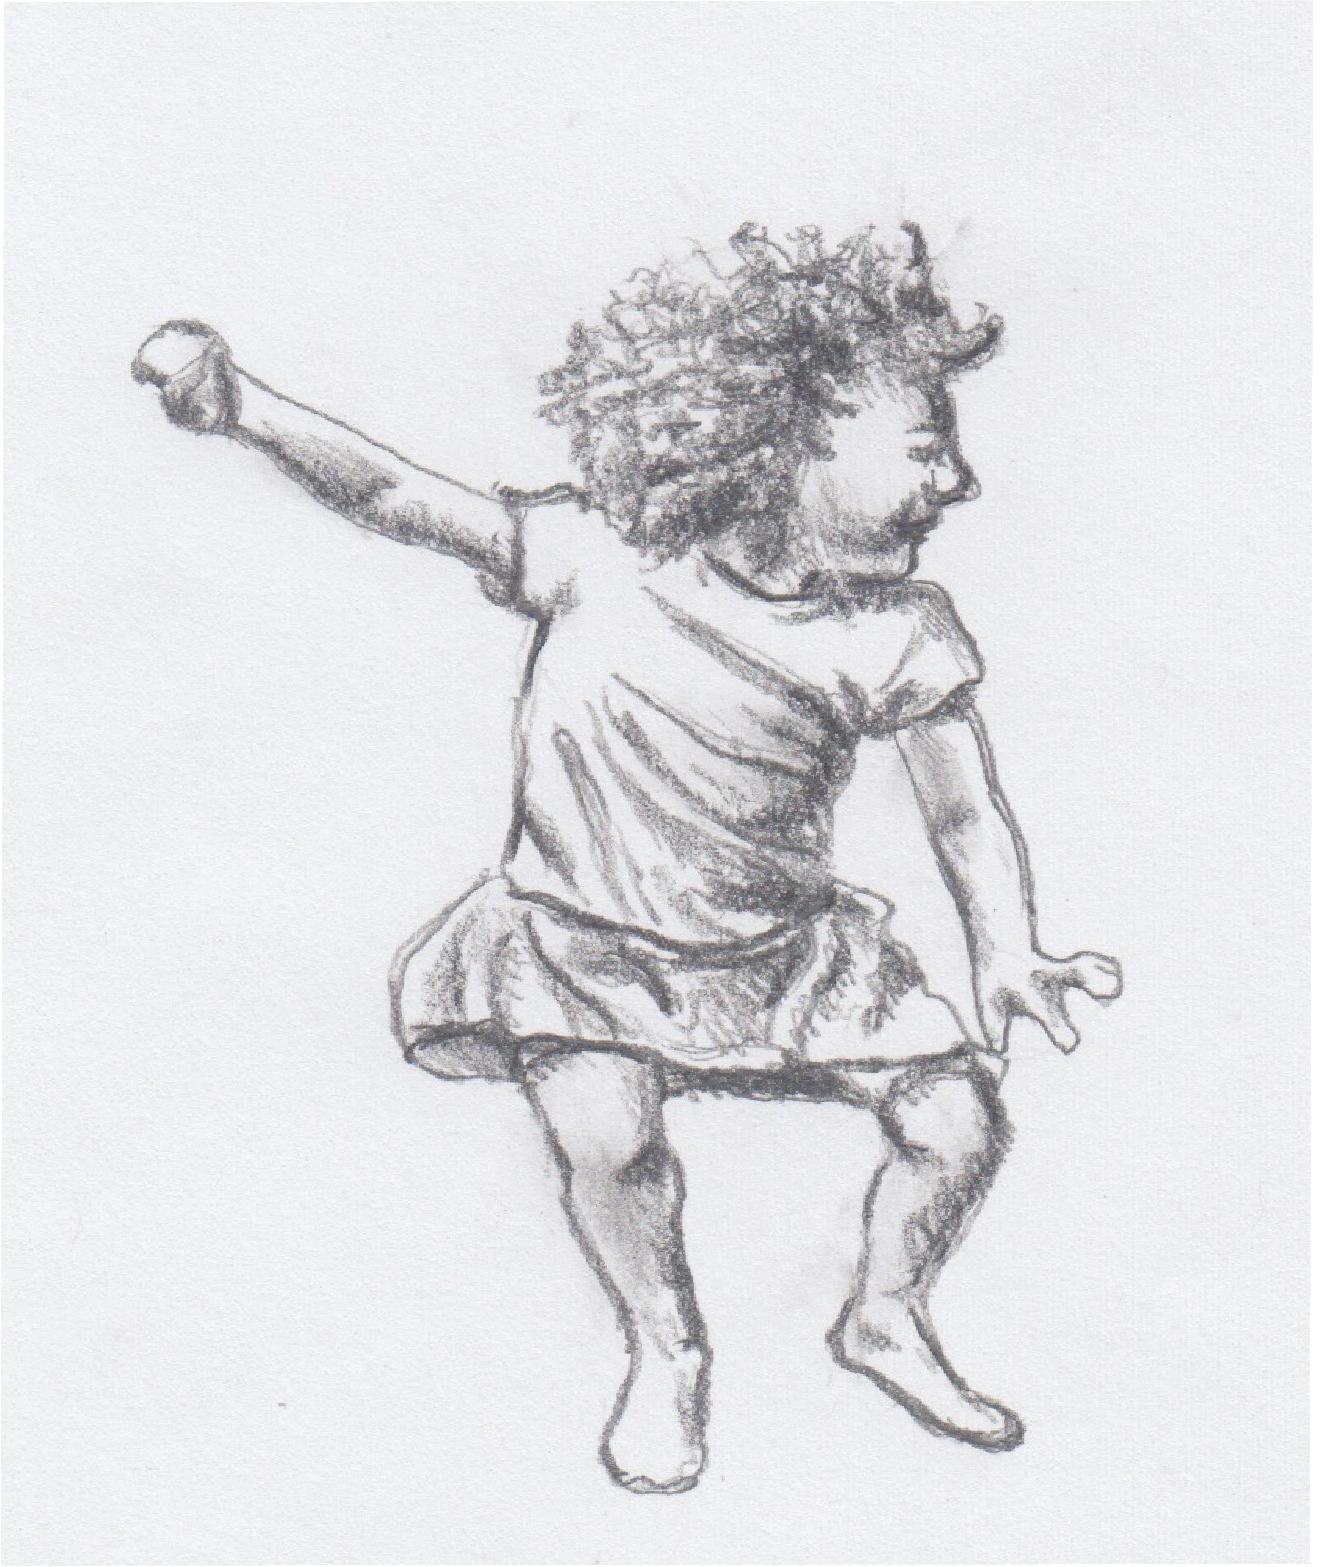
4. Based on your choices from the readings, create two interpretative drawings on 6×8″ paper size. The images will serve as tracings for your printing process. Have them ready at the start of class. They will be uploaded to Canvas at that time.
Once the two drawings are complete, put them on tracing paper or scan and print them in reverse. This way, the etchings will not print out backward when running through the printing press.

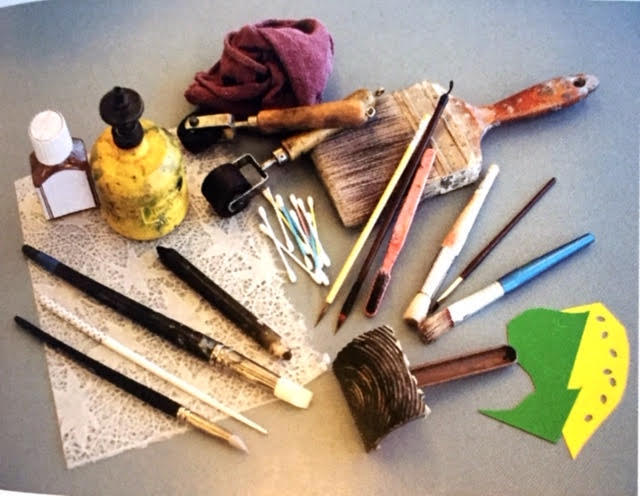
TO BRING for working in class:
-I will provide ALL of the supplies you need other than paper.
-I highly suggest that you purchase BFK Rives Printmaking Paper at Blick  or ask for other printmaking paper. Buy one large sheet and divide it. (,The full size is 22 x 30, I believe,)

Posted in Assignments, Drawing, Drypoint, Printmaking | Tagged , , | Leave a comment

For Week 4, Assignment 1: Laser Wear Final Presentation (2/17)

Please consider the design, function, fit, scale, amount of detail, number of pieces on your adornment. 
Bring all parts of the project for the FINAL CRITIQUE

TO DO:
1. If needed, make an appointment to complete your project right away. 
2. Have laser wear finished with all parts assembled and ready to be worn by the client for whom you created the design at the start of class.
3. Wear black to best enhance the jewelry when you wear it during the critique. Your photos will come out better as well.

TO BRING:
1. Your paper prototype
2. materials you used to laser cut and put the parts together (such as links, cords, etc.)
3. Your sketchbook with drawings for the project 
4. Any pieces that show mistakes and were not used for the final outcome (visually explains the learning process) 
5. Your completed piece(s) of jewelry or adornment**You will use all items listed above to show and talk about during the crit.

You will need to bring your computer for posting on your Learning Portfolio during class. **All items you bring in for the crit will be photographed and shown in your LP post.

REFERENCE:
1.  Using the Laser Lab Setup and Laser Cutter
2. How to photograph jewelry  

Ask for advice via email at any time. 

Posted in Assignments, Drawing, Laser Cutting | Tagged , , , | Comments Off on For Week 4, Assignment 1: Laser Wear Final Presentation (2/17)

For Week 3, Assignment 1: Laser Wear (2/10)

For our next class, we will meet in the Laser Lab at the start of class. Please arrive between 12 – 12:10.
Location: 25 E. 13th, 4th floor

HOMEWORK:
Please read and review this post all the way to the bottom to be sure you include everything that is required for the assignment.
Here is the link to a page with several tutorials on using Illustrator to help you create the assignment.

TO DO:
1. For those who have not done so, attend the Laser Lab orientation by Wednesday.
2. Please have your chosen design(s) completed in Illustrator for the start of class on Thursday. Upload your ai document onto Canvas. Please do not submit a jpeg or pdf file. Use the naming conventions laser wear_your name_dmc_sp22.ai

3. With your partner, decide who will work on their laser cutting project first. We are meeting at the Laser Lab. Please note, all student documents will be reviewed before the end of class.

Critical applications, even if your pieces are simple. You should include all three techniques to make the most out of learning to use the laser cutting process. The steps below show the Illustrator drawing, color line, black fill, and line weight applications for:
1. vector engraving 2. vector cutting and 3. raster engraving
-Please be sure to complete the steps below,
even if your shapes are geometrical.
-Only use vector drawings created in Illustrator. Do not use 
jpg images, clipping masks, blends, or pattern fills. Patterns must be strokes and fills.

Examples of Illustrator documents setup with three cutting techniques. Note the duplication of pieces in various sizes.

USE THE STEP BY STEP DOCUMENT HANDED OUT IN CLASS
Strokes, paths, anchor points, shapes, line width, artboard size, and color are all essential to properly set up your document.

Please note:
There are two parts to this project.
1. Designing for your client.
The client should give the designer inspiration and some artistic license.
2. The Laser Wear project which is about using laser cutting methods in as many ways as possible.
  Push yourself to think in less minimal ways. The pieces themselves can be simple, small (but not too small), and minimal but use drawings on the parts to incorporate more. You want to show all you can do in the laser process. 

TO BRING:
1. Sketchbook  Please show corrections, changes, and additions made to your designs
2. Computer with the completed Adobe Illustrator document. You won’t be able to work in class without it.
3. You materials you will use for laser cutting. Only bring what is approved by the Lab. Please see the list supplied in a link in the last post. Untreated craft wood is available at Blick and the Laser Lab store. Plexiglass is available through the Laser Lab Store. Color plexiglass can be bought at Canal Plastics (you can buy small sheets to save money.) Buttons and other items can be purchased at Pacific Trimming   Chains, links, cords, fabrics, and leather and other supplies can be found at Michaels  (on 6th Avenue btw. 21 and 22nd St.) Trumart Discount Fabrics (there you have to bargain) Mood Fabrics ask for untreated, natural leather for the Laser Lab. Let the store know your requirements.

I have several pieces of untreated craft wood, which I can bring to class for anyone who should need them. (Please let me know) I will also bring jump rings and other attachments for you to take.

IMPORTANT TO REVIEW

THE MAKING CENTER LOCATIONS, RESOURCES, SHOPPING AND MORE

Please let me know if I can help in any way. 

Posted in Assignments, Drawing, Laser Cutting | Tagged , , | Comments Off on For Week 3, Assignment 1: Laser Wear (2/10)

For Week 2, Assignment 1: Laser Wear (2/3)

Please read this post all the way to the bottom
Examples of laser-cut jewelry

COMPLETE THE MAKING CENTER GENERAL ORIENTATION AND THE ONE FOR THE LASER LAB BY 2/3. Both are found on CANVAS.

LINK TO THE LIST OF MATERIALS YOU CAN USE FOR LASER CUTTING

LINK TO EXAMPLES OF CULTURAL AND MODERN JEWELRY SHOWN IN CLASS

LINK TO EXAMPLES OF PAST STUDENT LASER WEAR PROJECTS FOR INSPIRATION

HOMEWORK:
(TWO DRAWINGS and TWO PROTOTYPES)  The sketchbook which comes in the First Year Materials Kit is the small black book with blank pages. Canson 180 Degree Hardbound Sketchbook, 80 sheets, size = 8.3″x11.7″. You can work in this one or another of your choice.

TO DO:
1. Two concept sketches in pen or pencil showing your basic design ideas with notes. Try not to be too minimal, push your creativity. Conceptualize at least three parts on your product that will involve laser cutting. (For example, don’t create just one pendant on a necklace design. Consider the clasp and additional parts)  Remember, you are designing for your client first and foremost. The client will wear and keep the adornment.
2. Finish two paper prototypesUse the measurements you made in class for the bracelet or necklace on the person you were designing for and create the paper model to scale. Please consider the design, function, and fit as well as the desires of your client.
(Both sketches and prototypes are due Thursday 1/30)

Examples of bracelet style choices: bangles, cuffs, charms, links, wraps, chains
Examples of necklace style choices: pendants, chains, chokers, bib
3. Scan or photograph the prototypes and sketches ahead of time for clean images to work from when creating your digital documents.
4. Making an appointment and attend a Laser Lab orientation

TO BRING:
1. Sketchbook 
2. Computer with Adobe Illustrator installed from your CC student account

3. Paper prototypes for review
4Scans or photographs of your sketches and prototypes (upload to Canvas during class)

Posted in Assignments, Drawing, Laser Cutting, Prototype | Tagged , , , | Comments Off on For Week 2, Assignment 1: Laser Wear (2/3)