
-

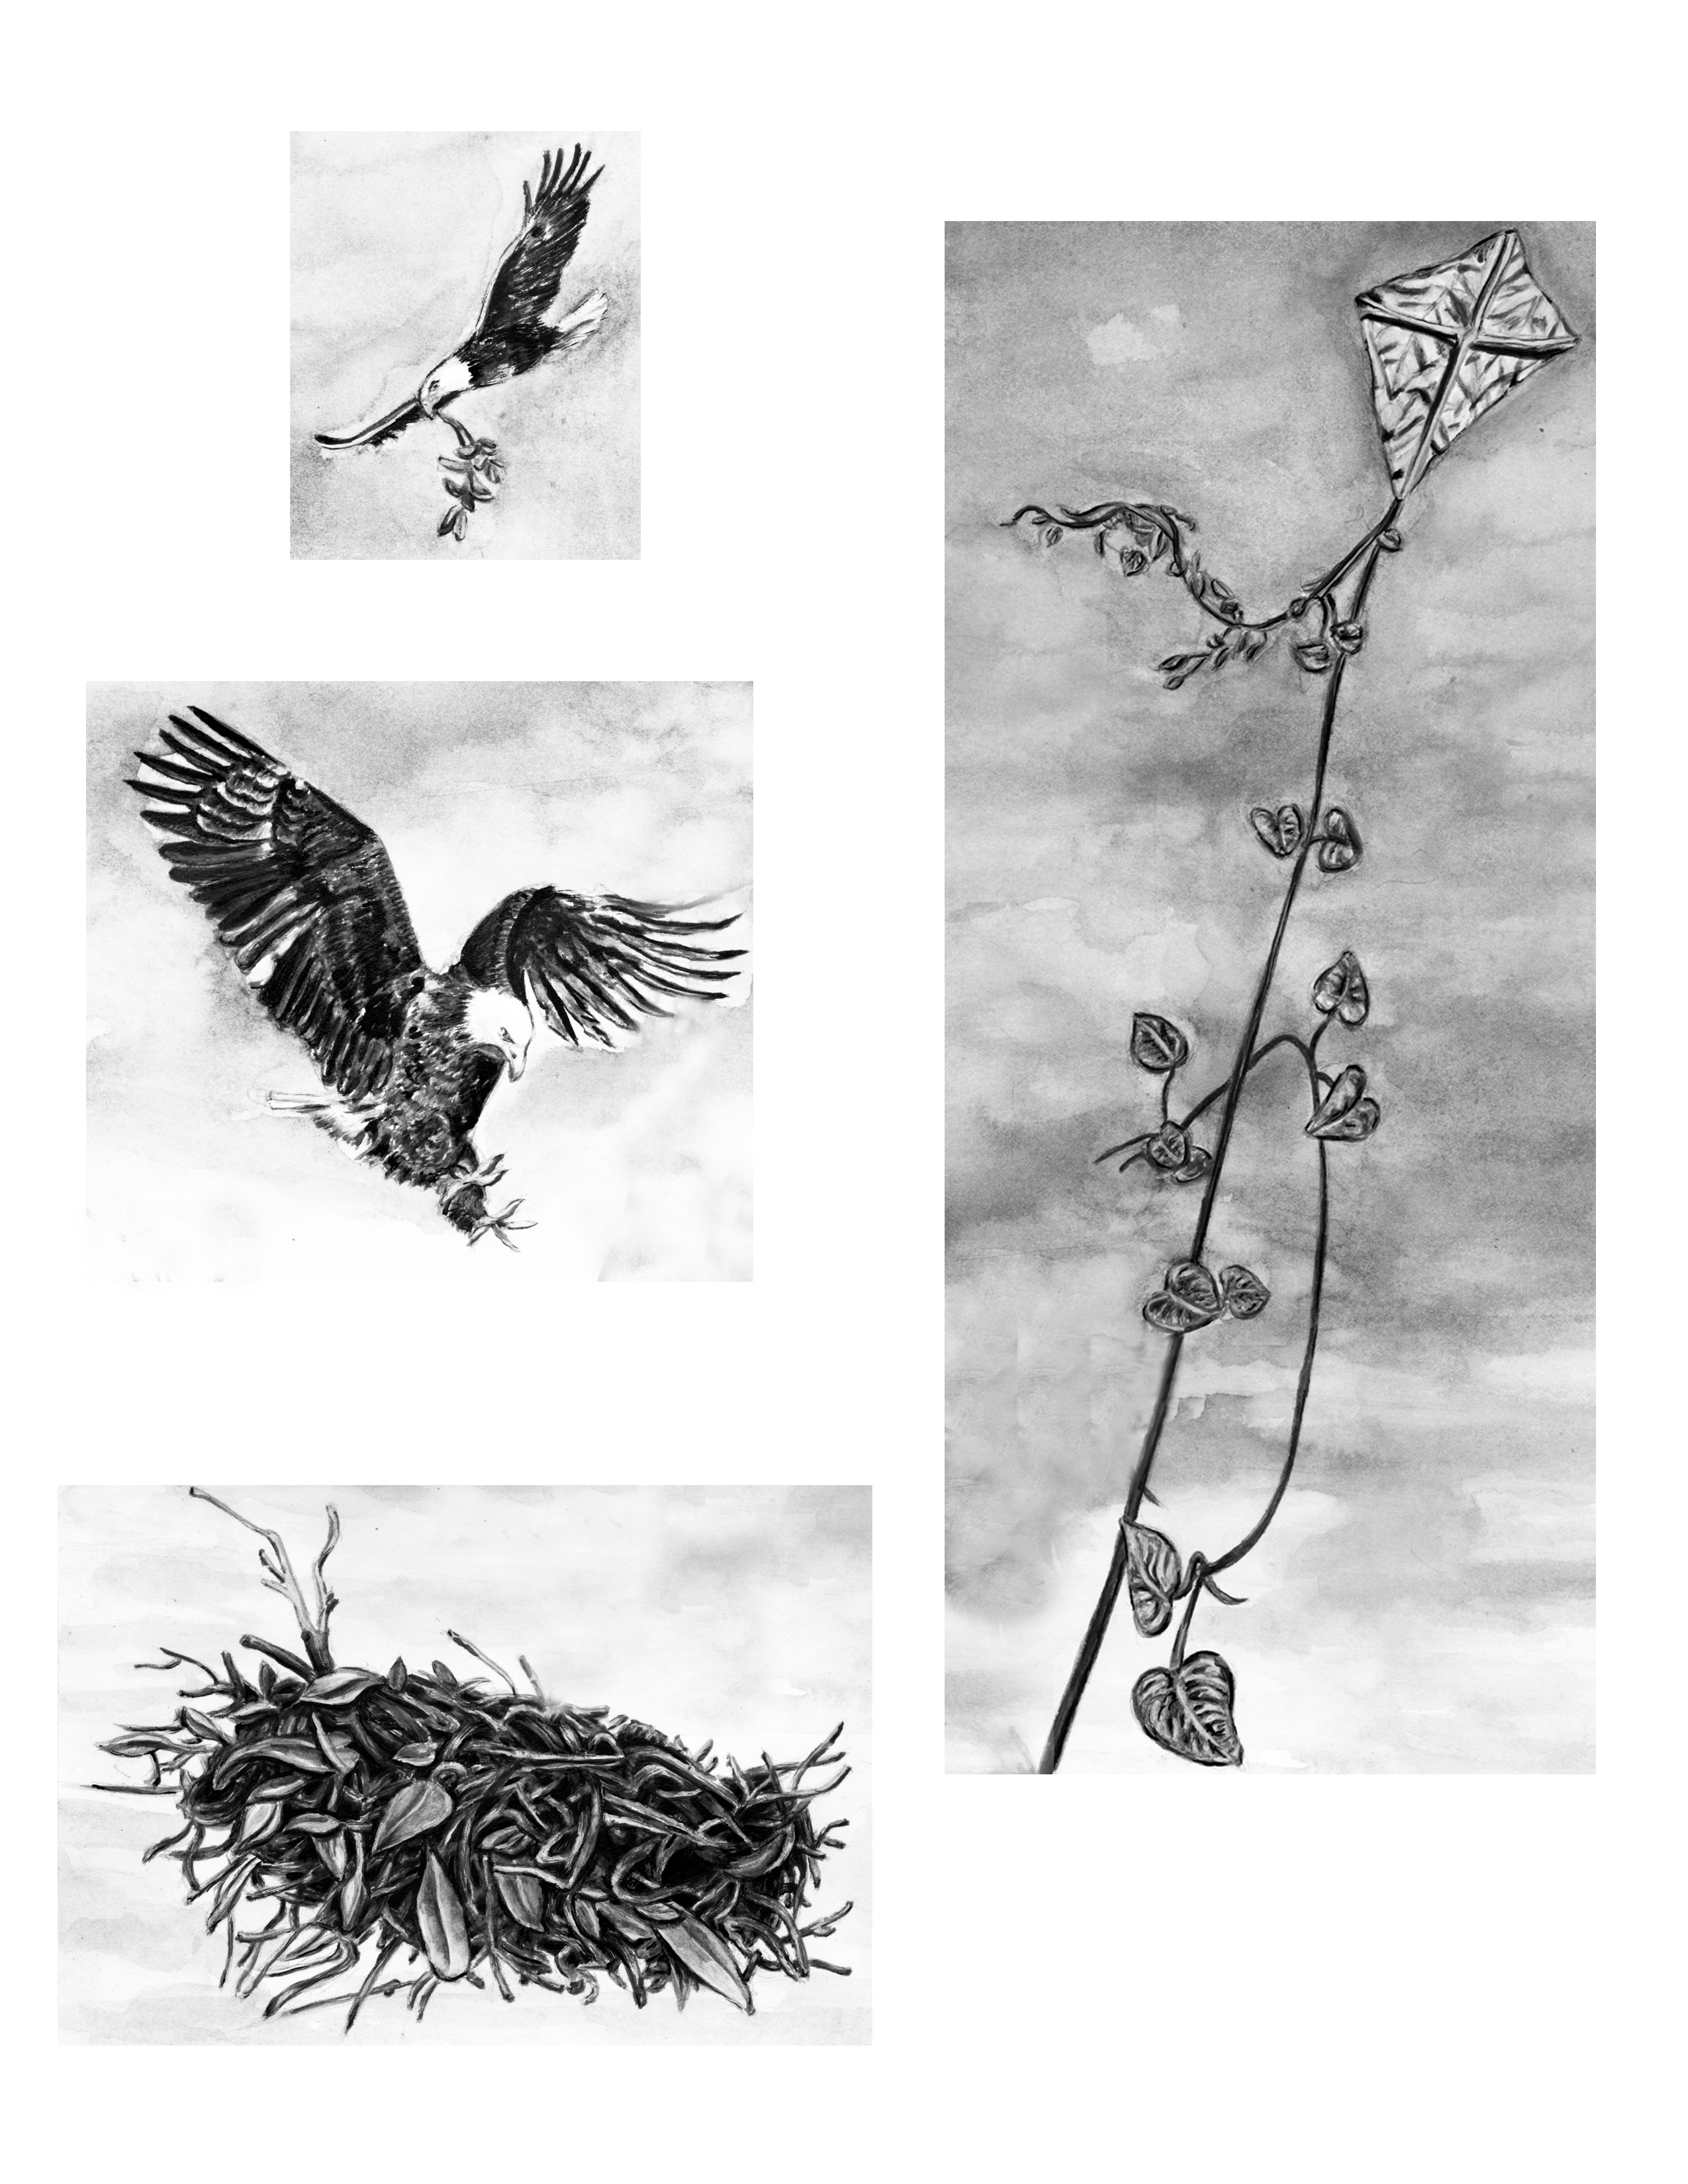
- Eagles, kite and nest sketchbook drawings
-
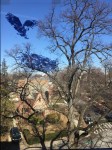
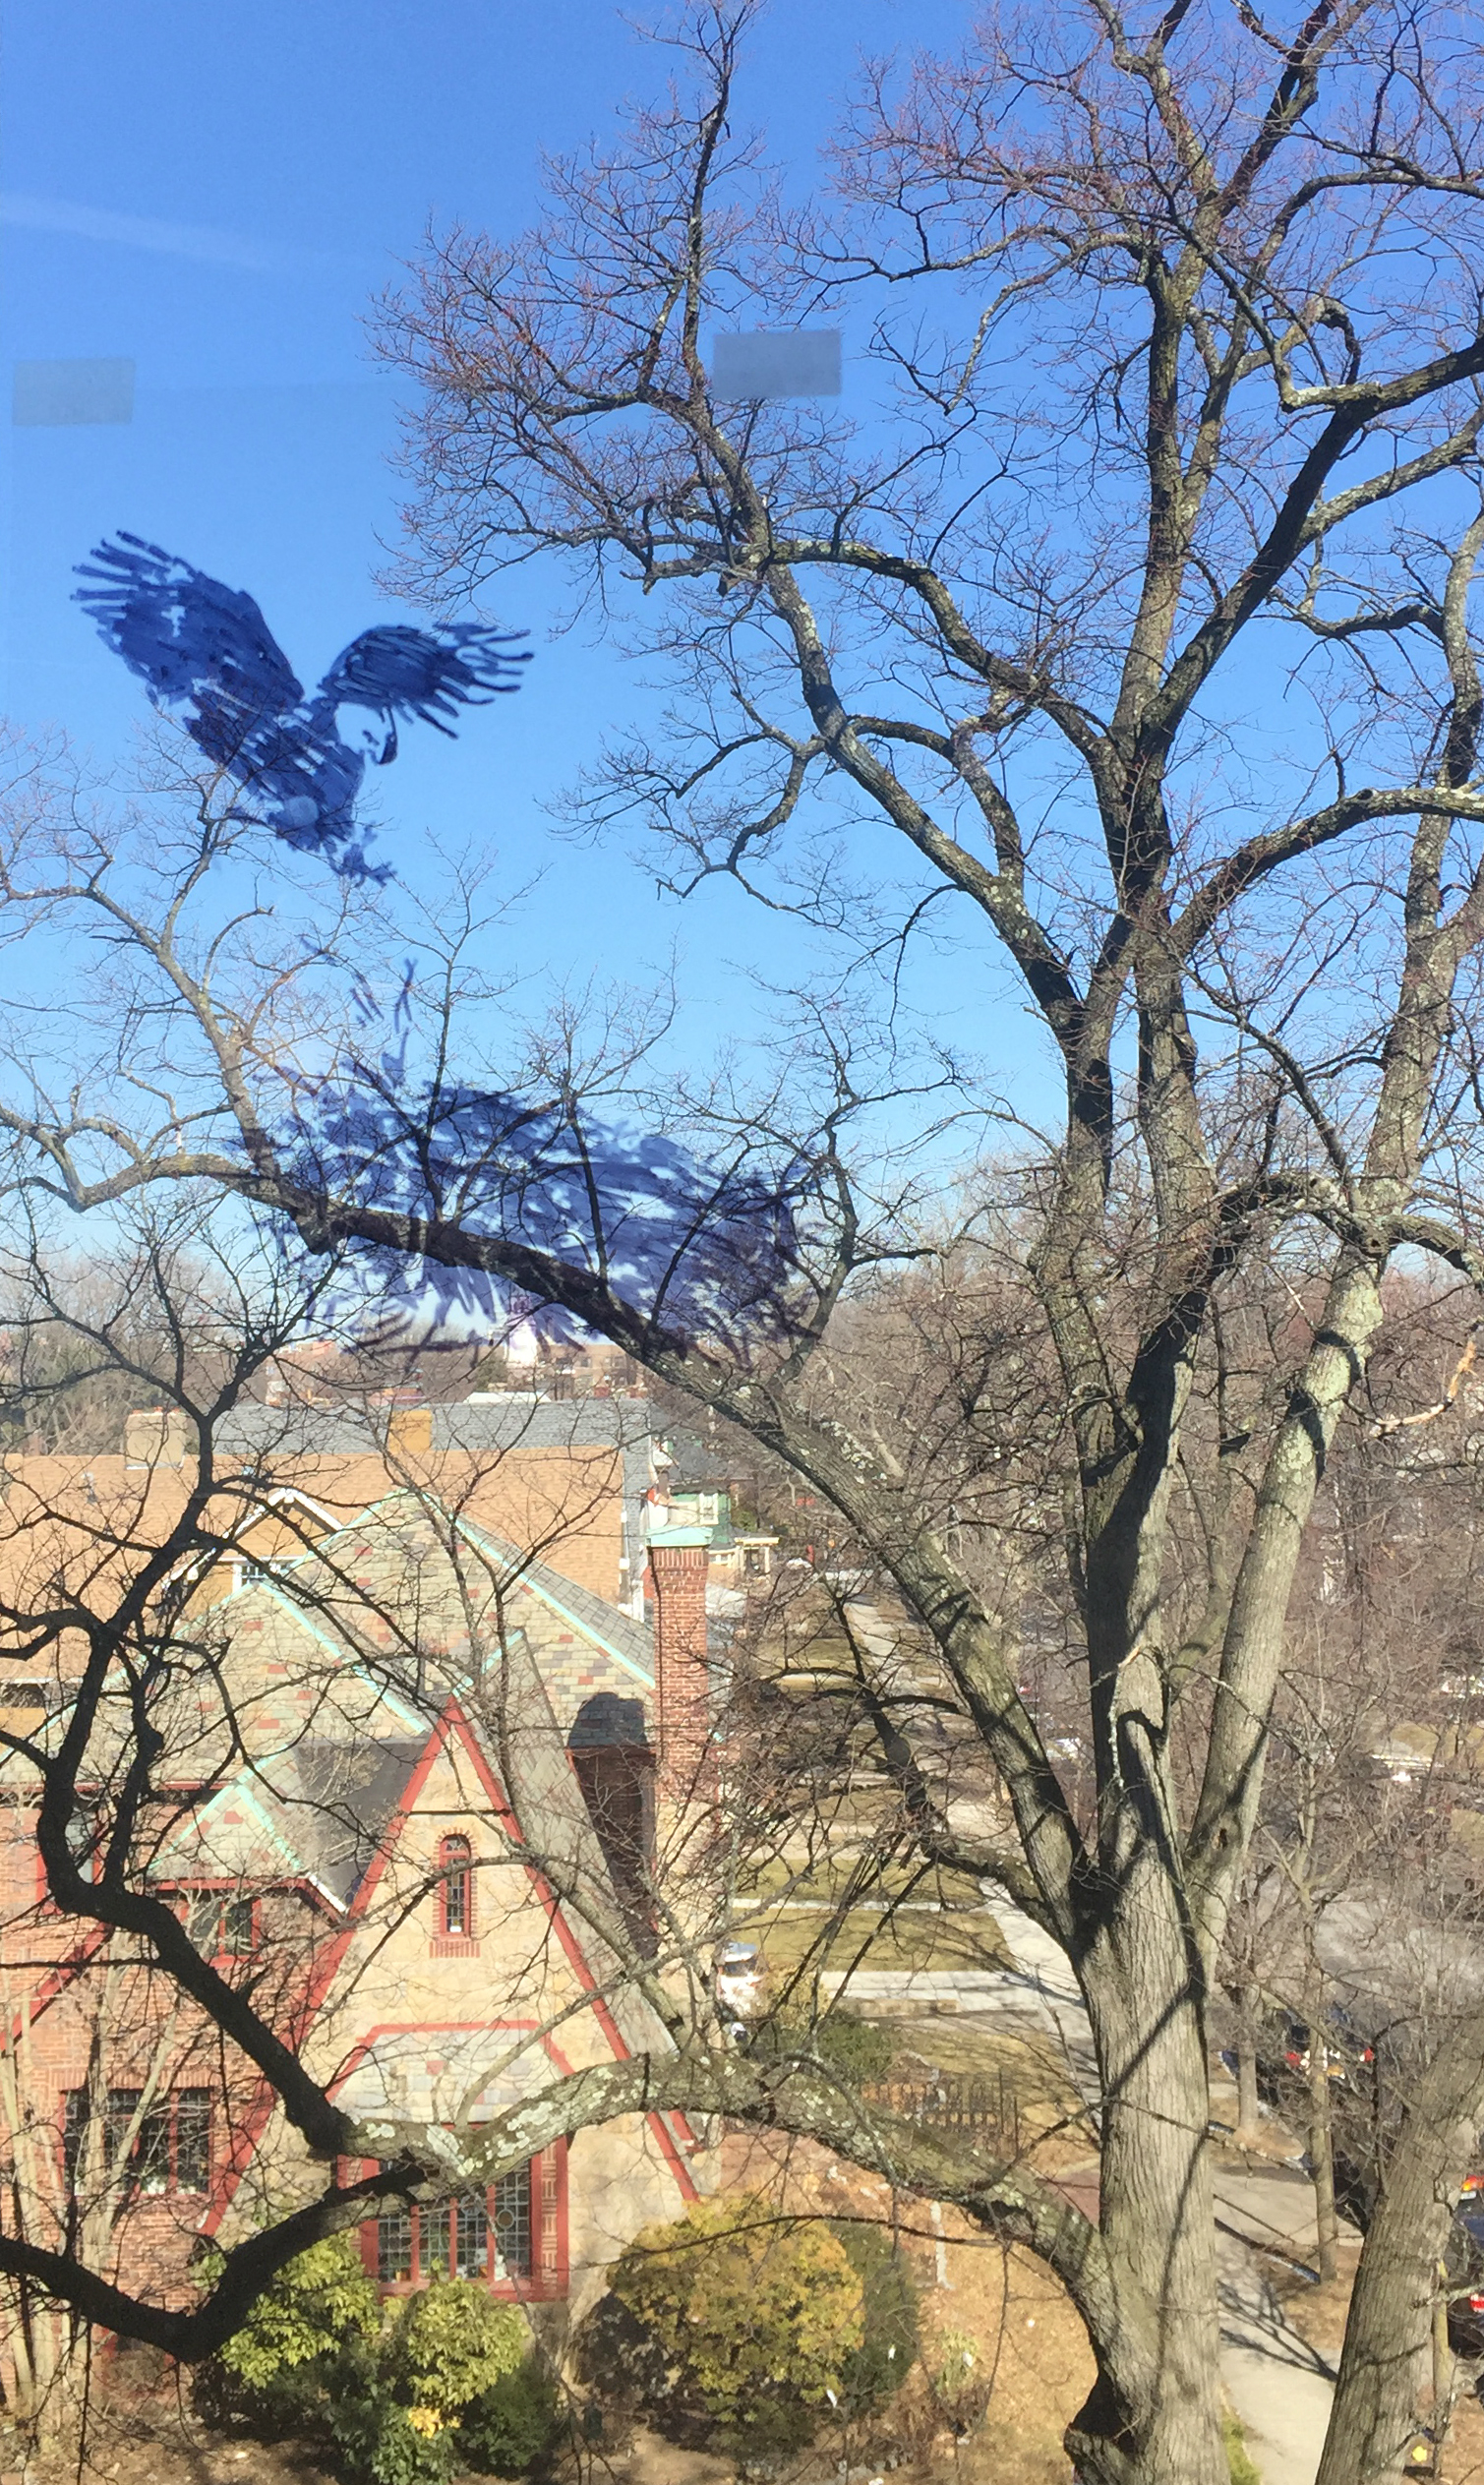
- Black sharpies drawing on top of acetate sheet taped to the window

-
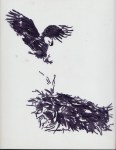
- Close up of the acetate prototype drawing after it was removed from the window.

-
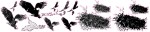
- Sticker sheet
-

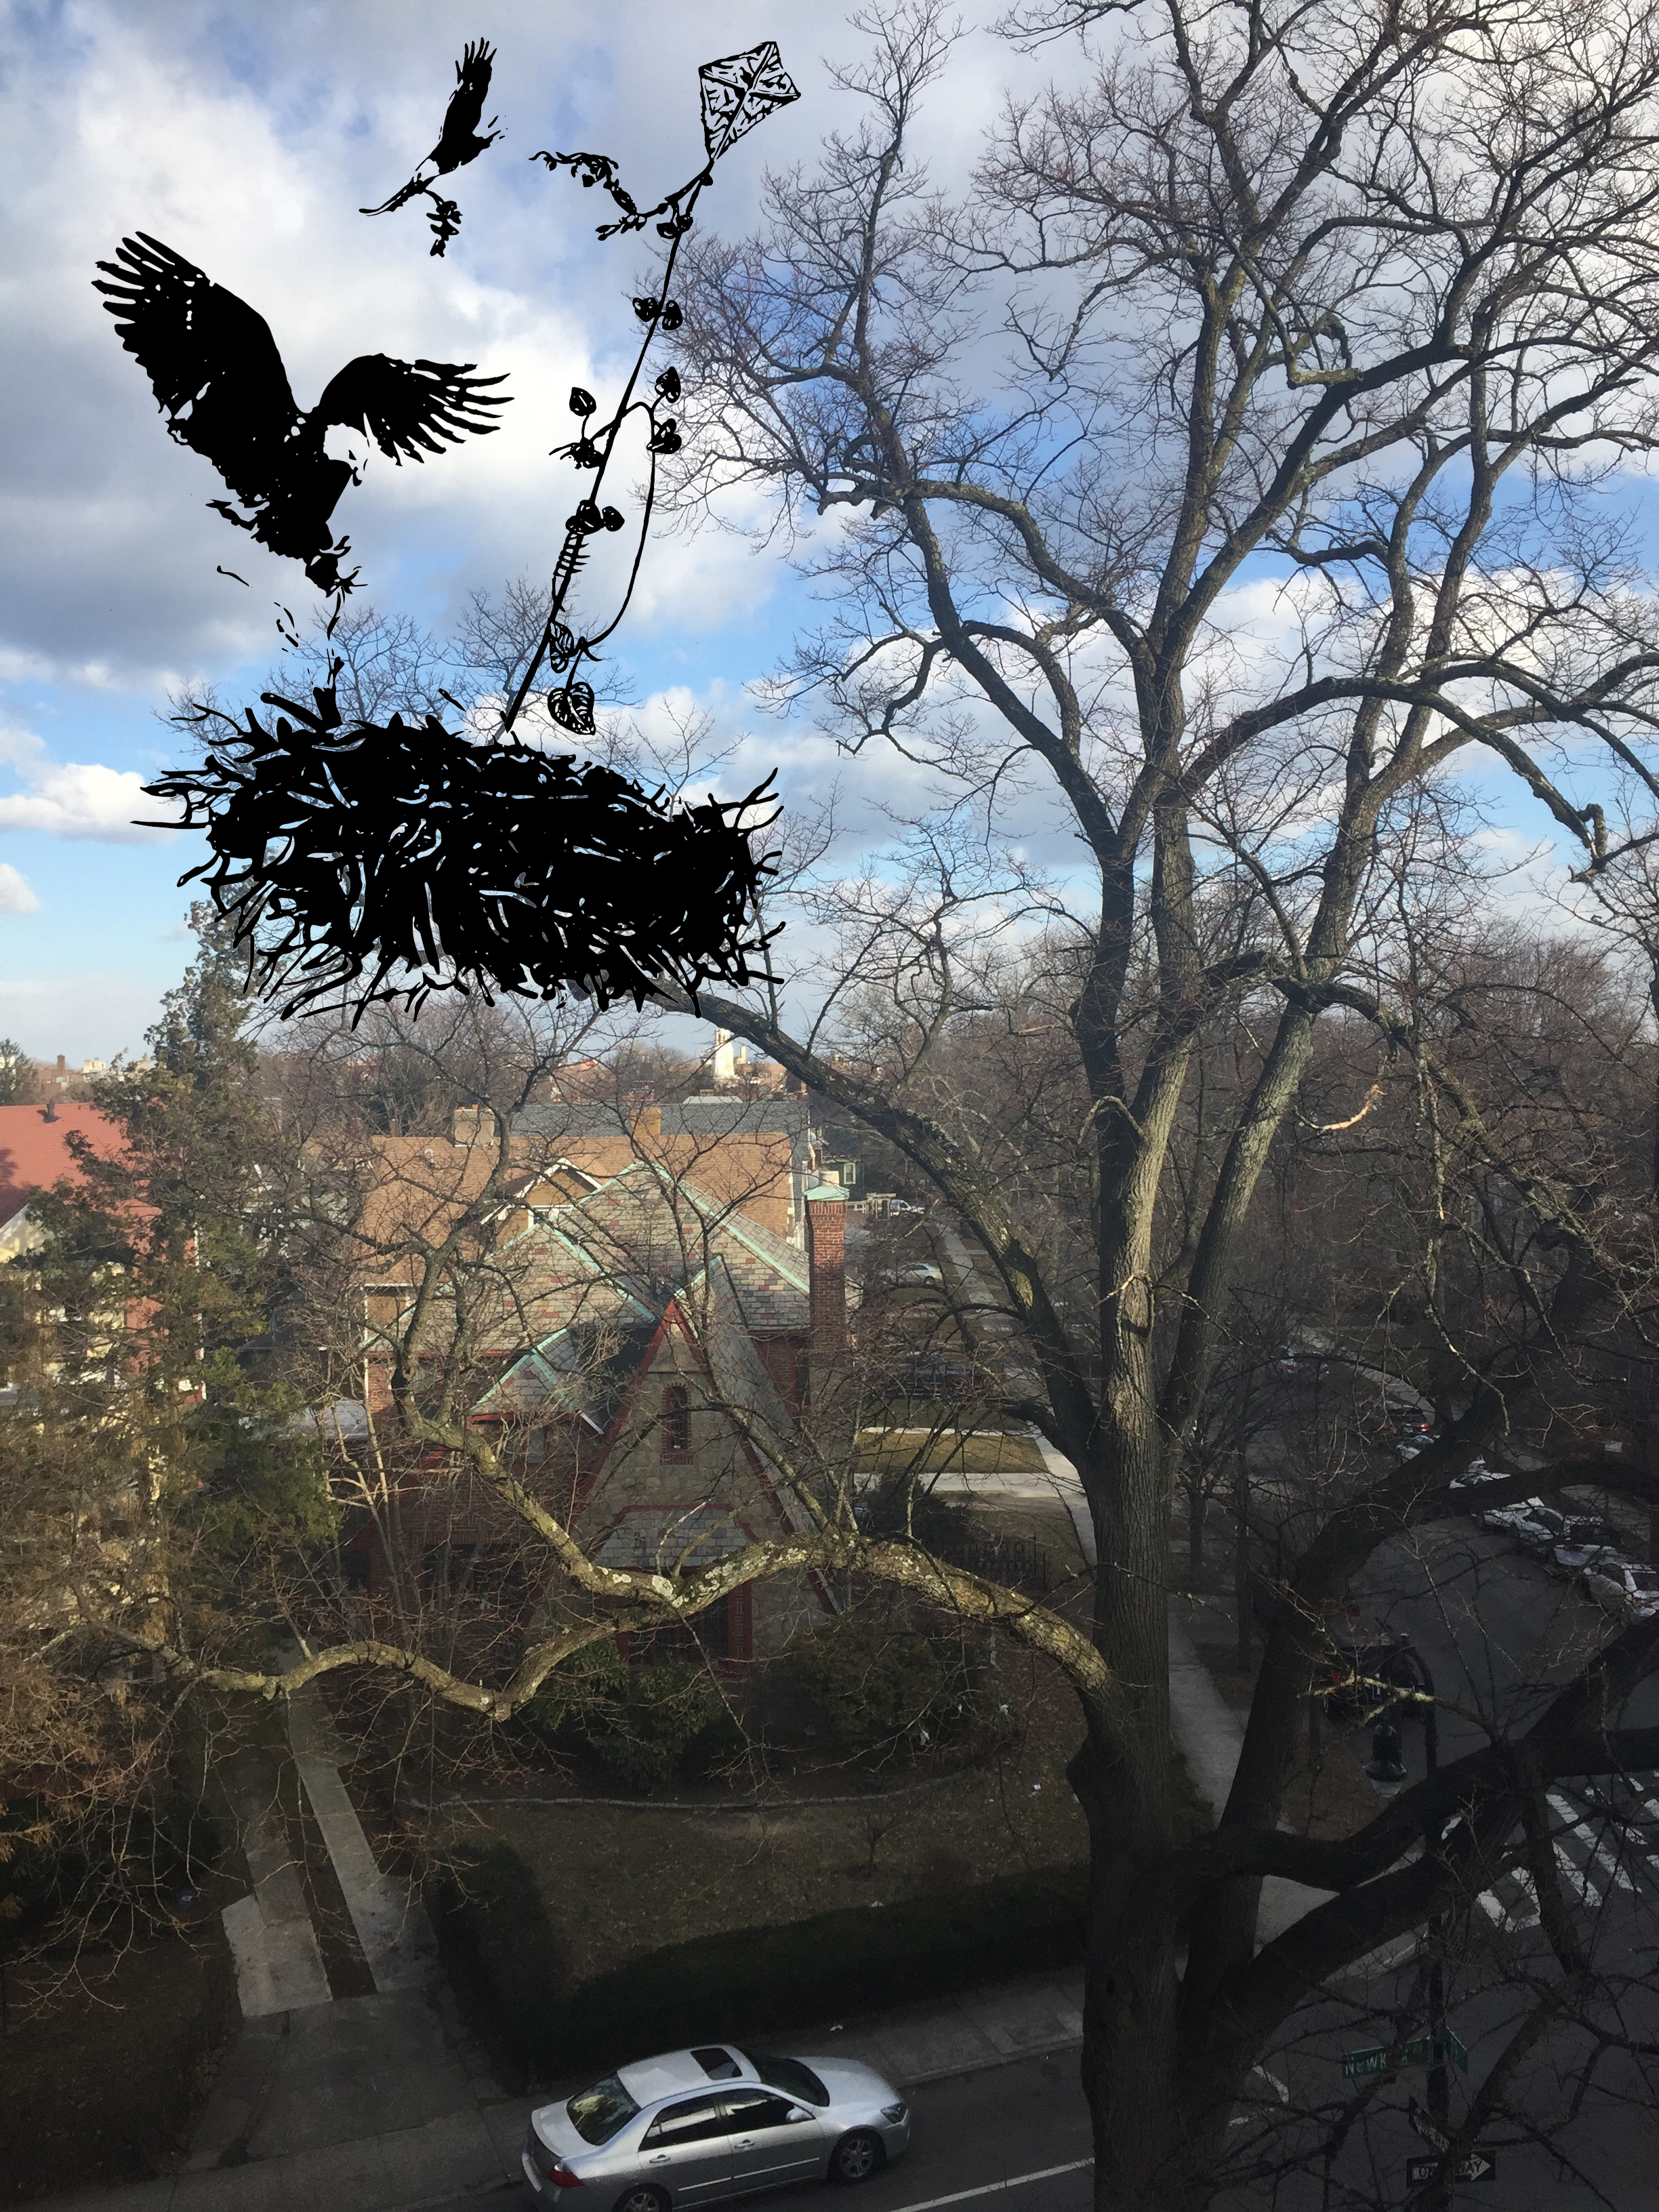
- Final project-printed photograph of the stickers placed one or more windows.(black silhouette)
Remember to allow enough time to submit, print, place on a window, and photographs.
Five days is a safe time frame between emailing the document and picking up the stickers. The stickers will not be printed over the weekend; send them in today via email, Friday, April 15, at the latest.
Instructions for SETTING UP AND SENDING IN THE STICKERS DOCUMENT (shown in class)
Your goal is to have your printed sticker illustrations placed and integrated into the scenery that goes beyond the window. It is important to have the right scale and lineup of the stickers in relationship to the scenery. Create the images dark enough to show up when placed on your window.
Take photos of the stickers and scenery from different vantage points. Be sure the stickers and scenery are both in focus (not blurry in the background.) Print out the photographs for the final presentation. Then enjoy the final illusion!
***HOMEWORK
TO DO:
1. Complete the formatted Illustrator document
2. Send the file via email to the Design Lab in time to receive the stickers by Wednesday before class.
3. Place the stickers on the chosen window(s) areas.
4. Take good-quality photos of the setup to show as your final presentation. (The printed stickers and PRINTED photos of them on the window are the final project.) I showed examples of the printed photos in our last class. Please carefully align the stickers and the scene through the window when taking your photos. You want to create a convincing illusion.
Please be sure to use quality photo paper or shiny paper to print out your photos for the presentation.
Homework Assignment #2-Proposal for your final project
1. Write or type (much preferred) a brief proposal using the categories on the
PROVIDED TEMPLATE
Reference: Examples of past student final projects
Overview of the open-ended assignment based on any concept and way of making, create an interpretation that reflects either a positive (Example: my current situation heightens my creative nature) or an adverse reaction (Example: I can’t wait for COVID to be over.)
You can choose to use the laser cutting, printmaking, clay building, or the sticker printer
We will discuss the proposals for the final project during the second 1/2 of the next class.
Make your appointments for the Laser Lab to use during class time on 4/28. If you are using printmaking or clay building, let me know so I can arrange usage during class. -See my latest ANNOUNCEMENT for the latest details.
TO BRING:
1. drawings in your sketchbook
2. your acetate prototypes
3. final illustrator drawings/documents (the files will be submitted to me on Canvas BY the start of class)
4. the sheet of printed stickers (remove them from the window and stick them back on the original sheet)
5. PHOTOS are a key part of the final outcome of the stickers on windows
You will need to bring your computer – for showing documentation during the crit NOT A SUBSTITUTE FOR PHOTOGRAPHS THAT ARE PRINTED OUT. PRINTING IS REQUIRED– and in case we have time for posting on your Learning Portfolio during class. **All items you bring for the crit will be photographed and shown in your LP post.
6. Your typed proposal. You will submit it to Canvas before the start of class.
I look forward to seeing the final results!
